> For the complete documentation index, see [llms.txt](https://mazingxr.gitbook.io/mazing-world/llms.txt). Markdown versions of documentation pages are available by appending `.md` to page URLs; this page is available as [Markdown](https://mazingxr.gitbook.io/mazing-world/de/product-guides/lade-dein-eigenes-3d-modell-hoch.md).
# Lade dein eigenes 3D-Modell hoch
Geschätzte Dauer: 3 Minuten
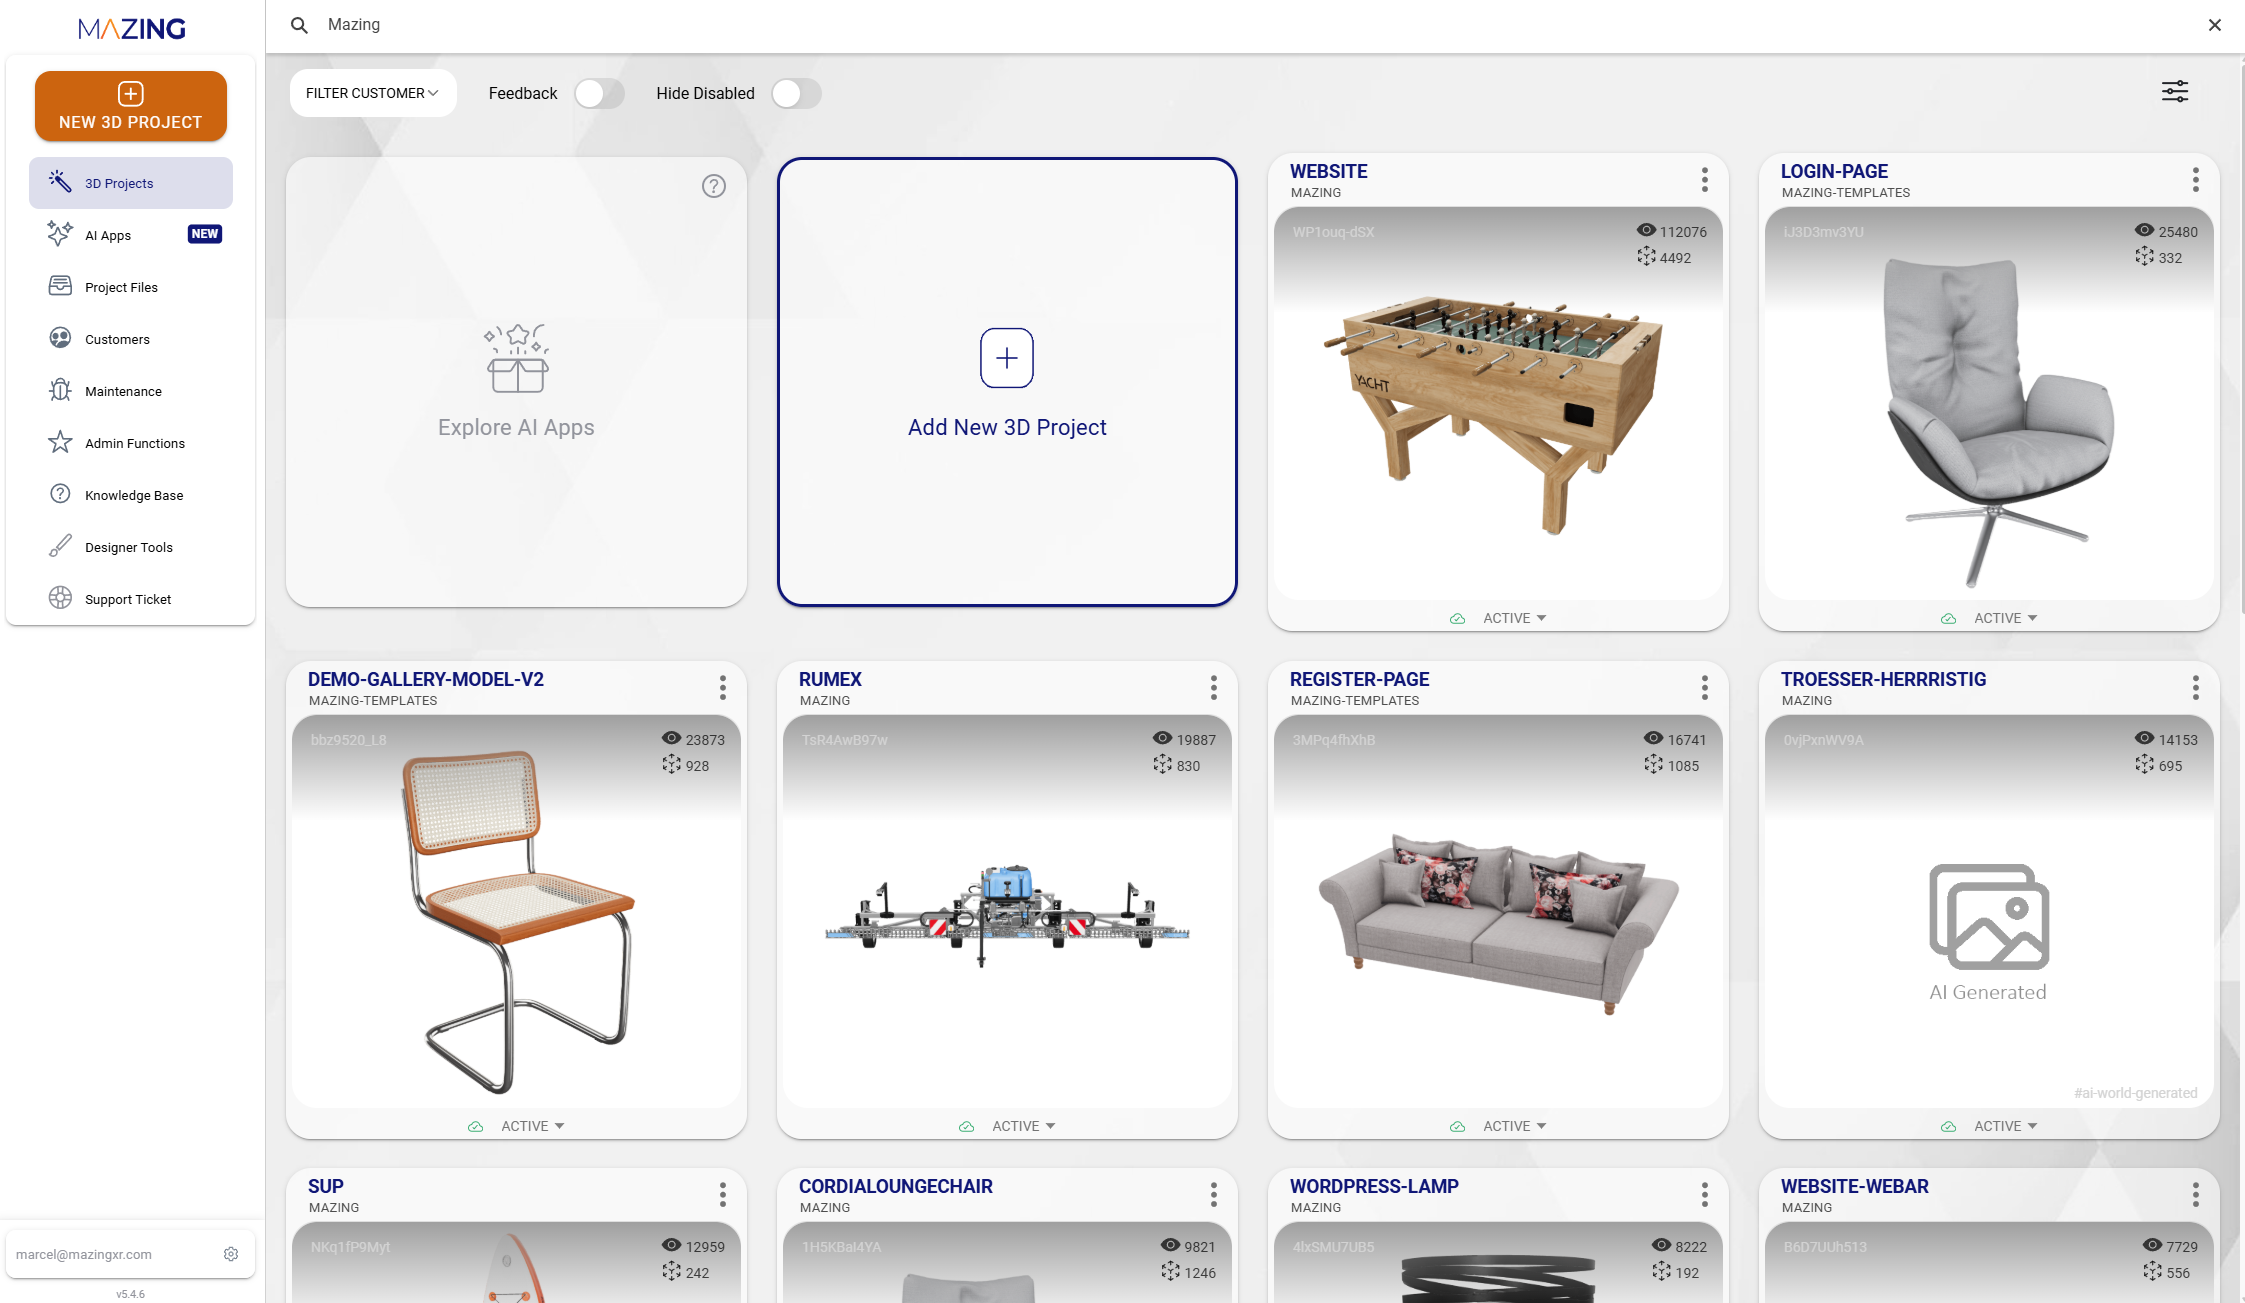
## **Schritt 1 – Neues Projekt erstellen**
*Hier kannst du deinen Plan verwalten oder kündigen*
**Was zählt als ein View?**\
Ein View wird gezählt, sobald das 3D-Modell vollständig geladen ist.
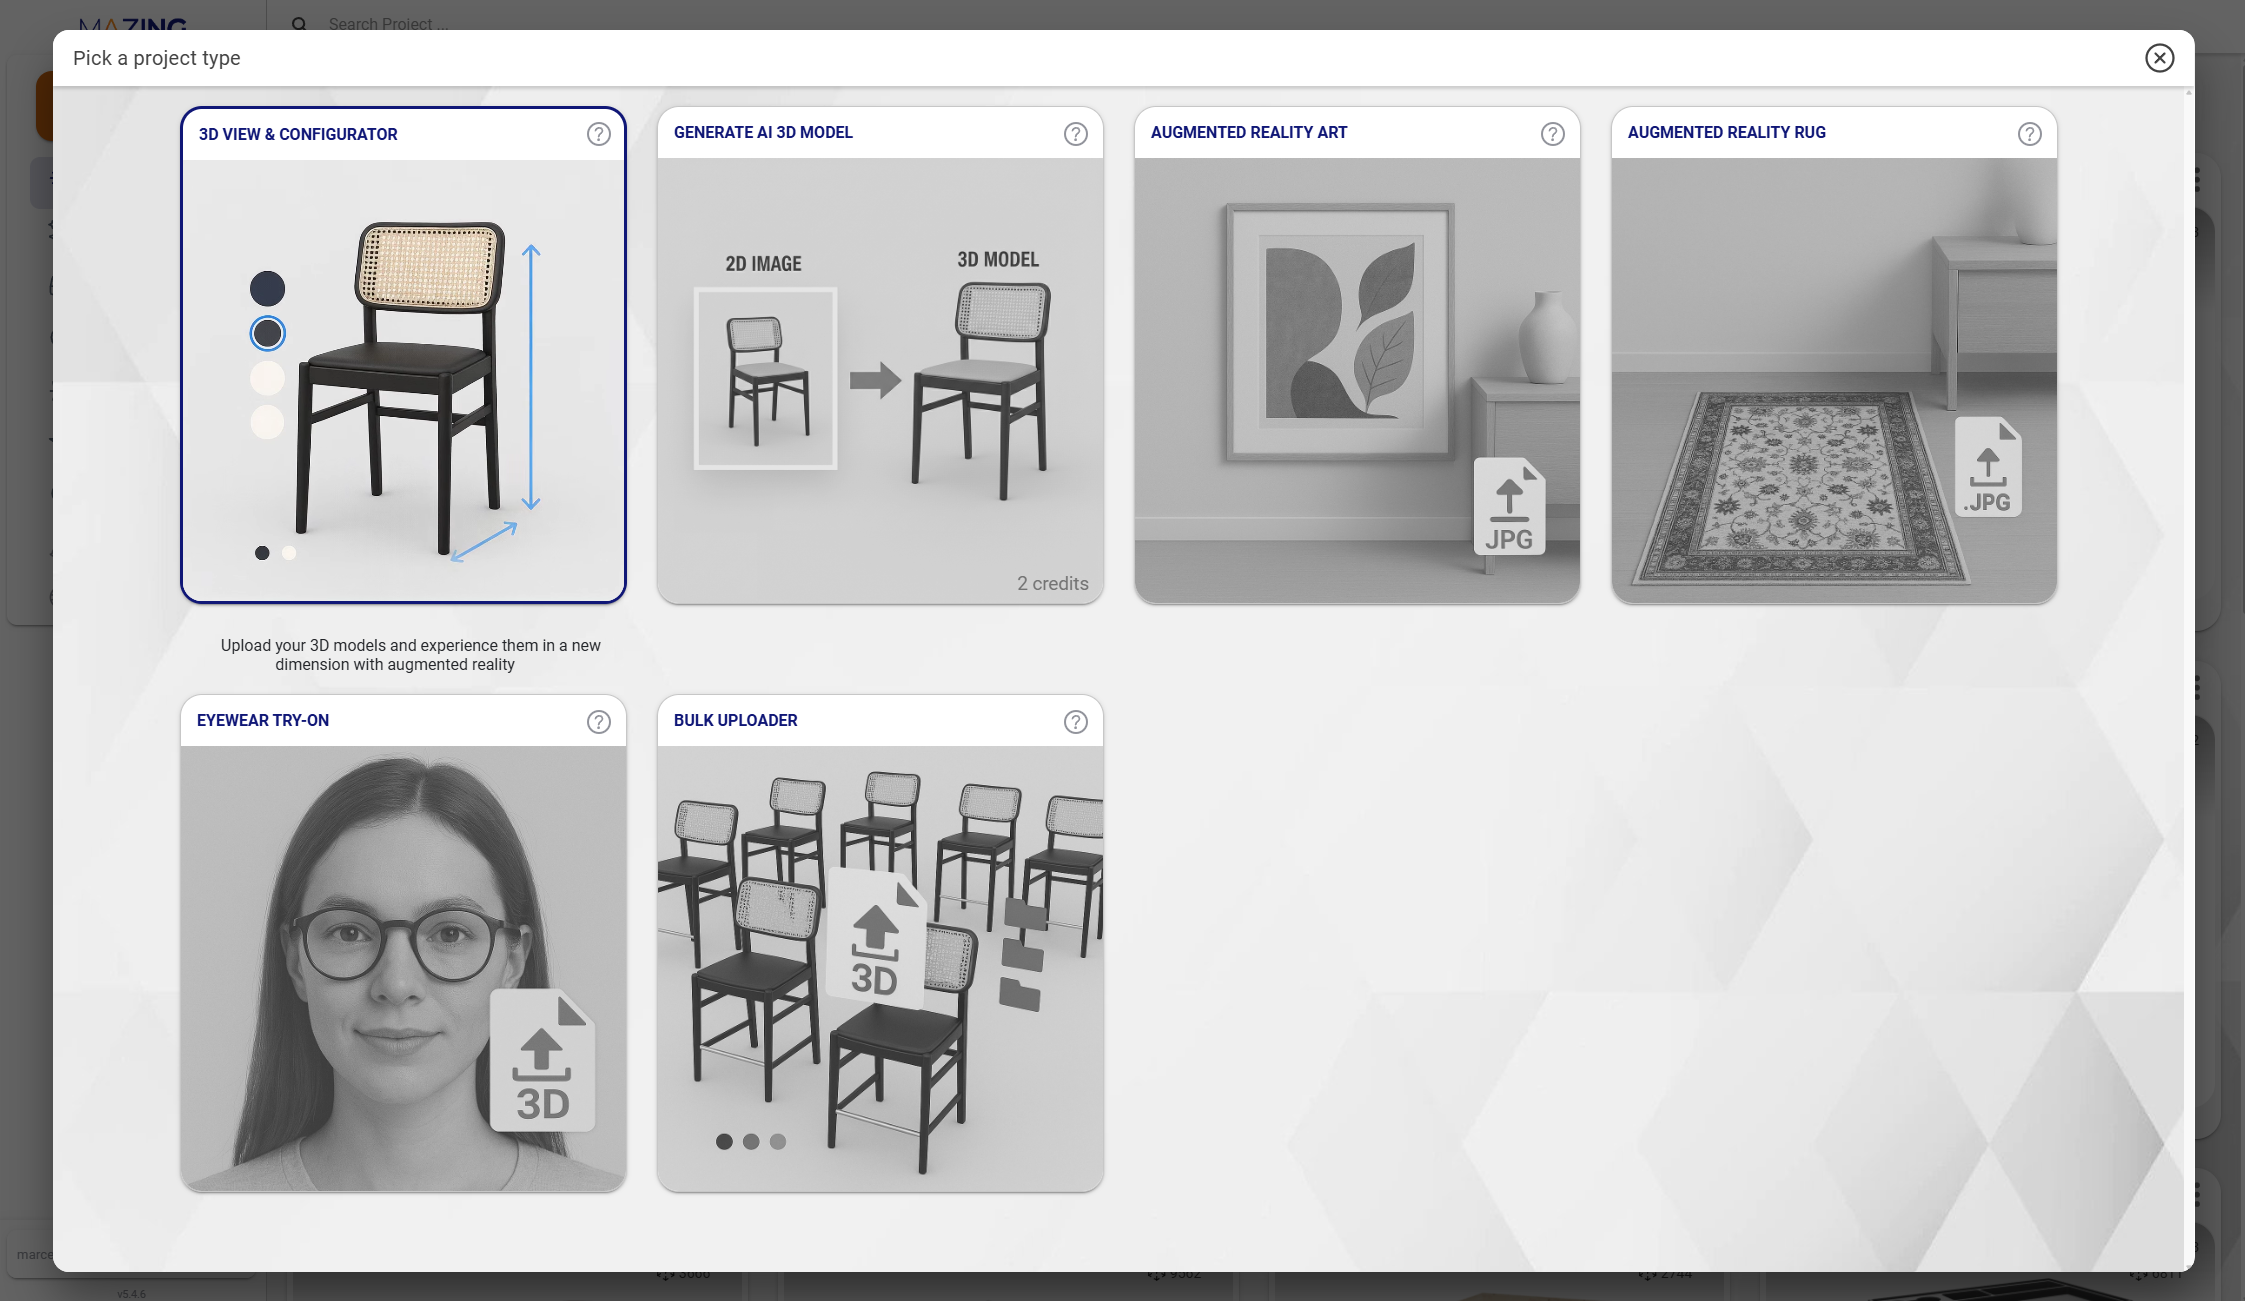
## **Schritt 2 – Produkt auswählen**
*Hier findest du weitere Informationen zu diesen Produkten*\
*Psst: Wir arbeiten an weiteren …*
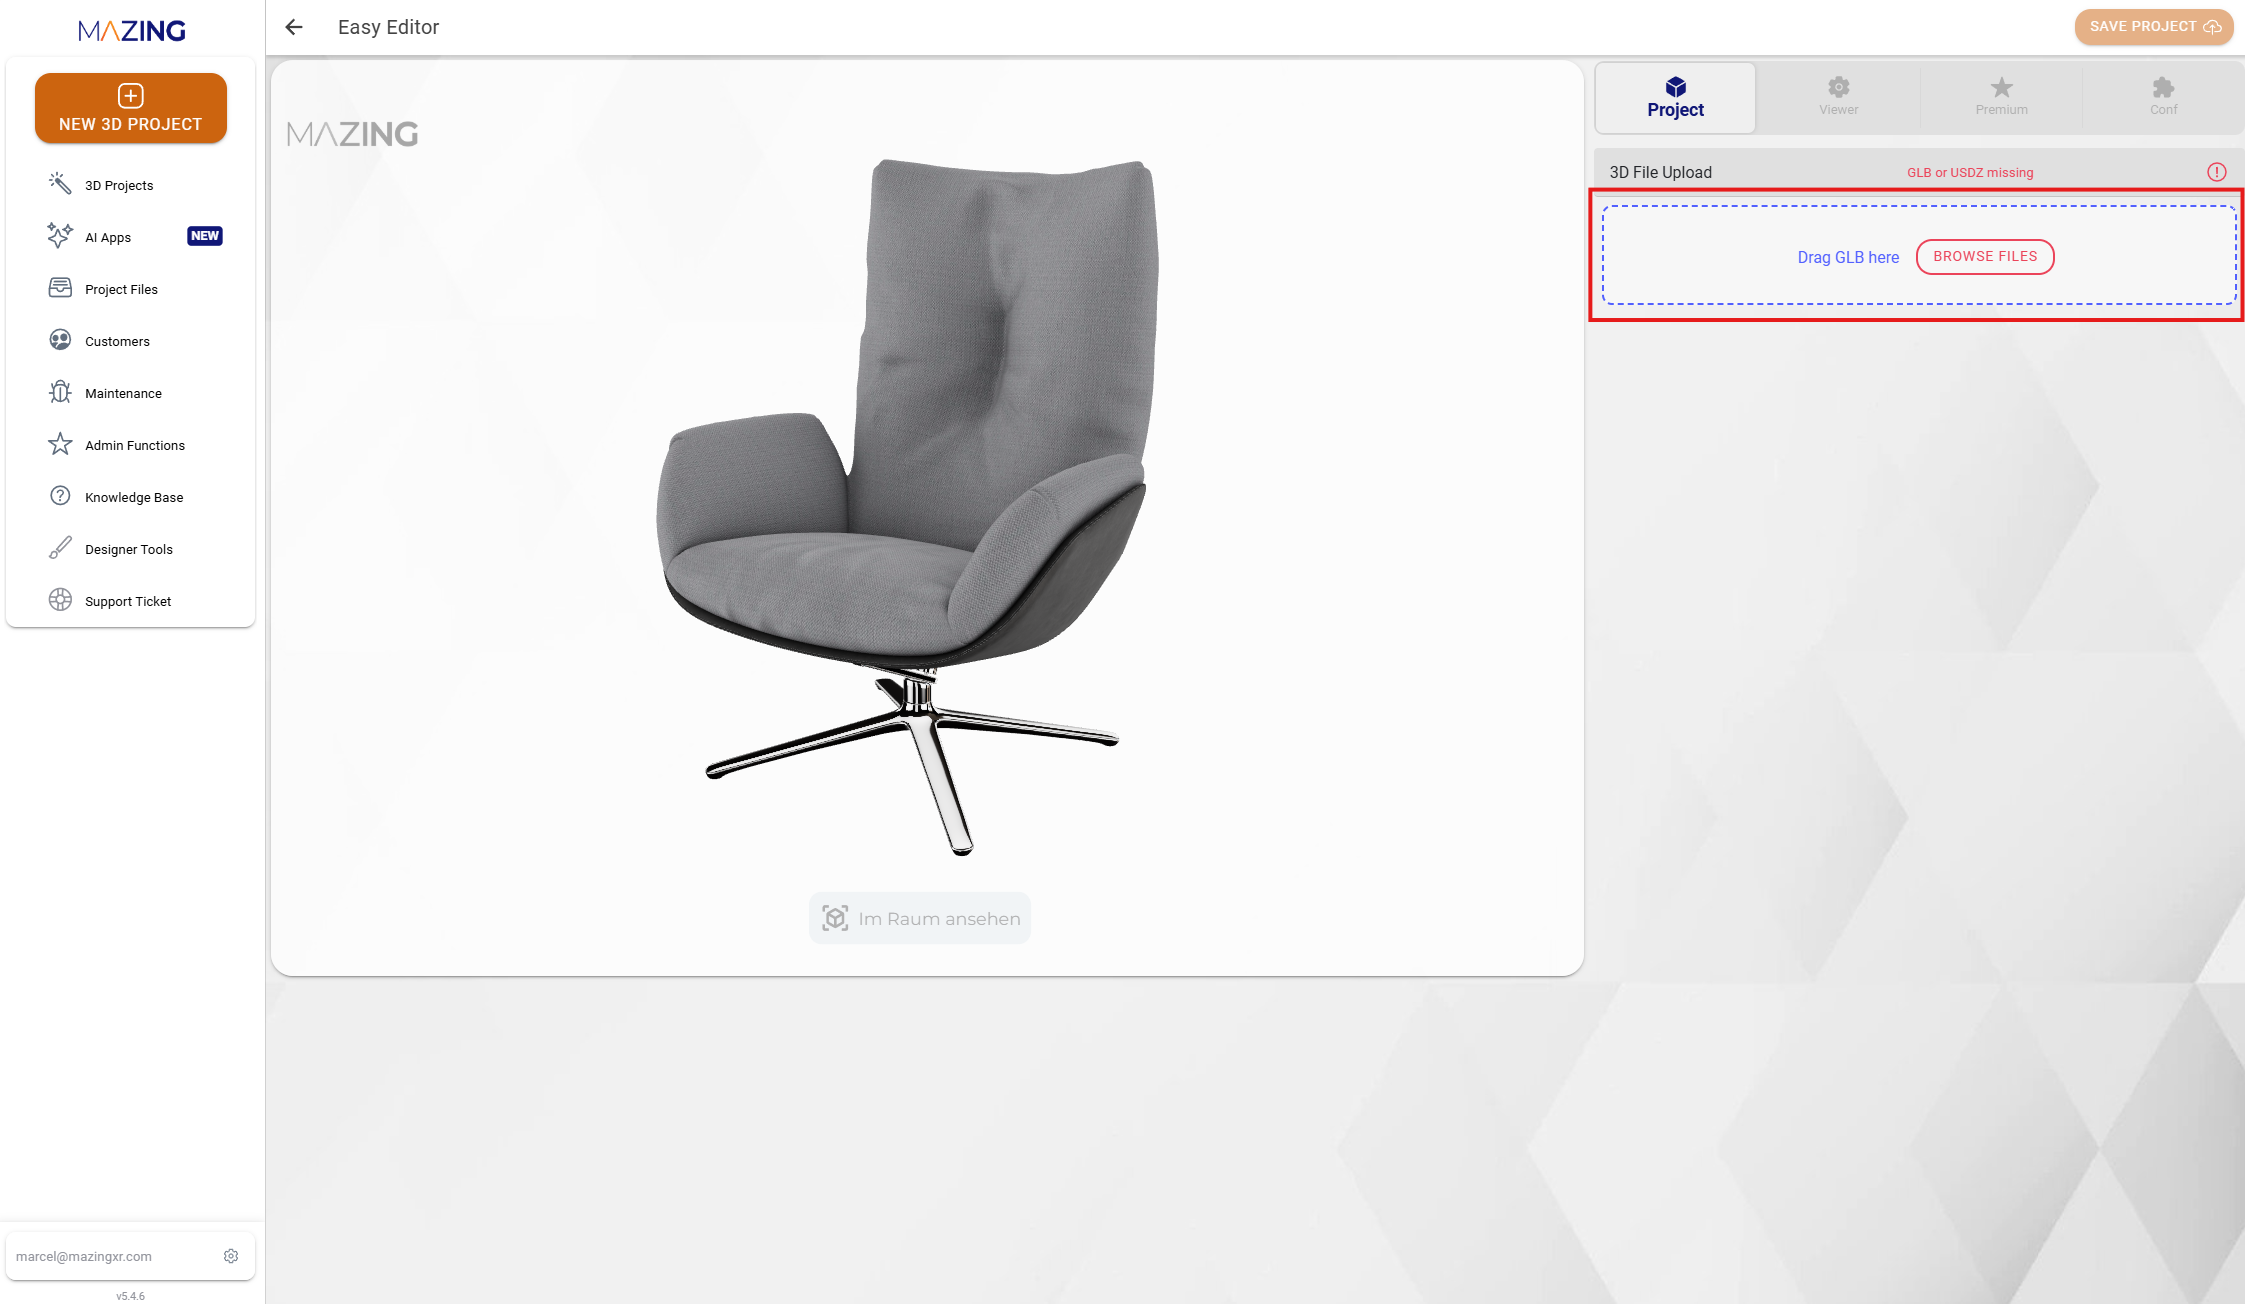
## **Schritt 3 – Wähle eine .glb- oder .gltf-Datei aus**
*Dies ist nur eine Vorschau und funktioniert erst, nachdem du das Projekt gespeichert hast.*
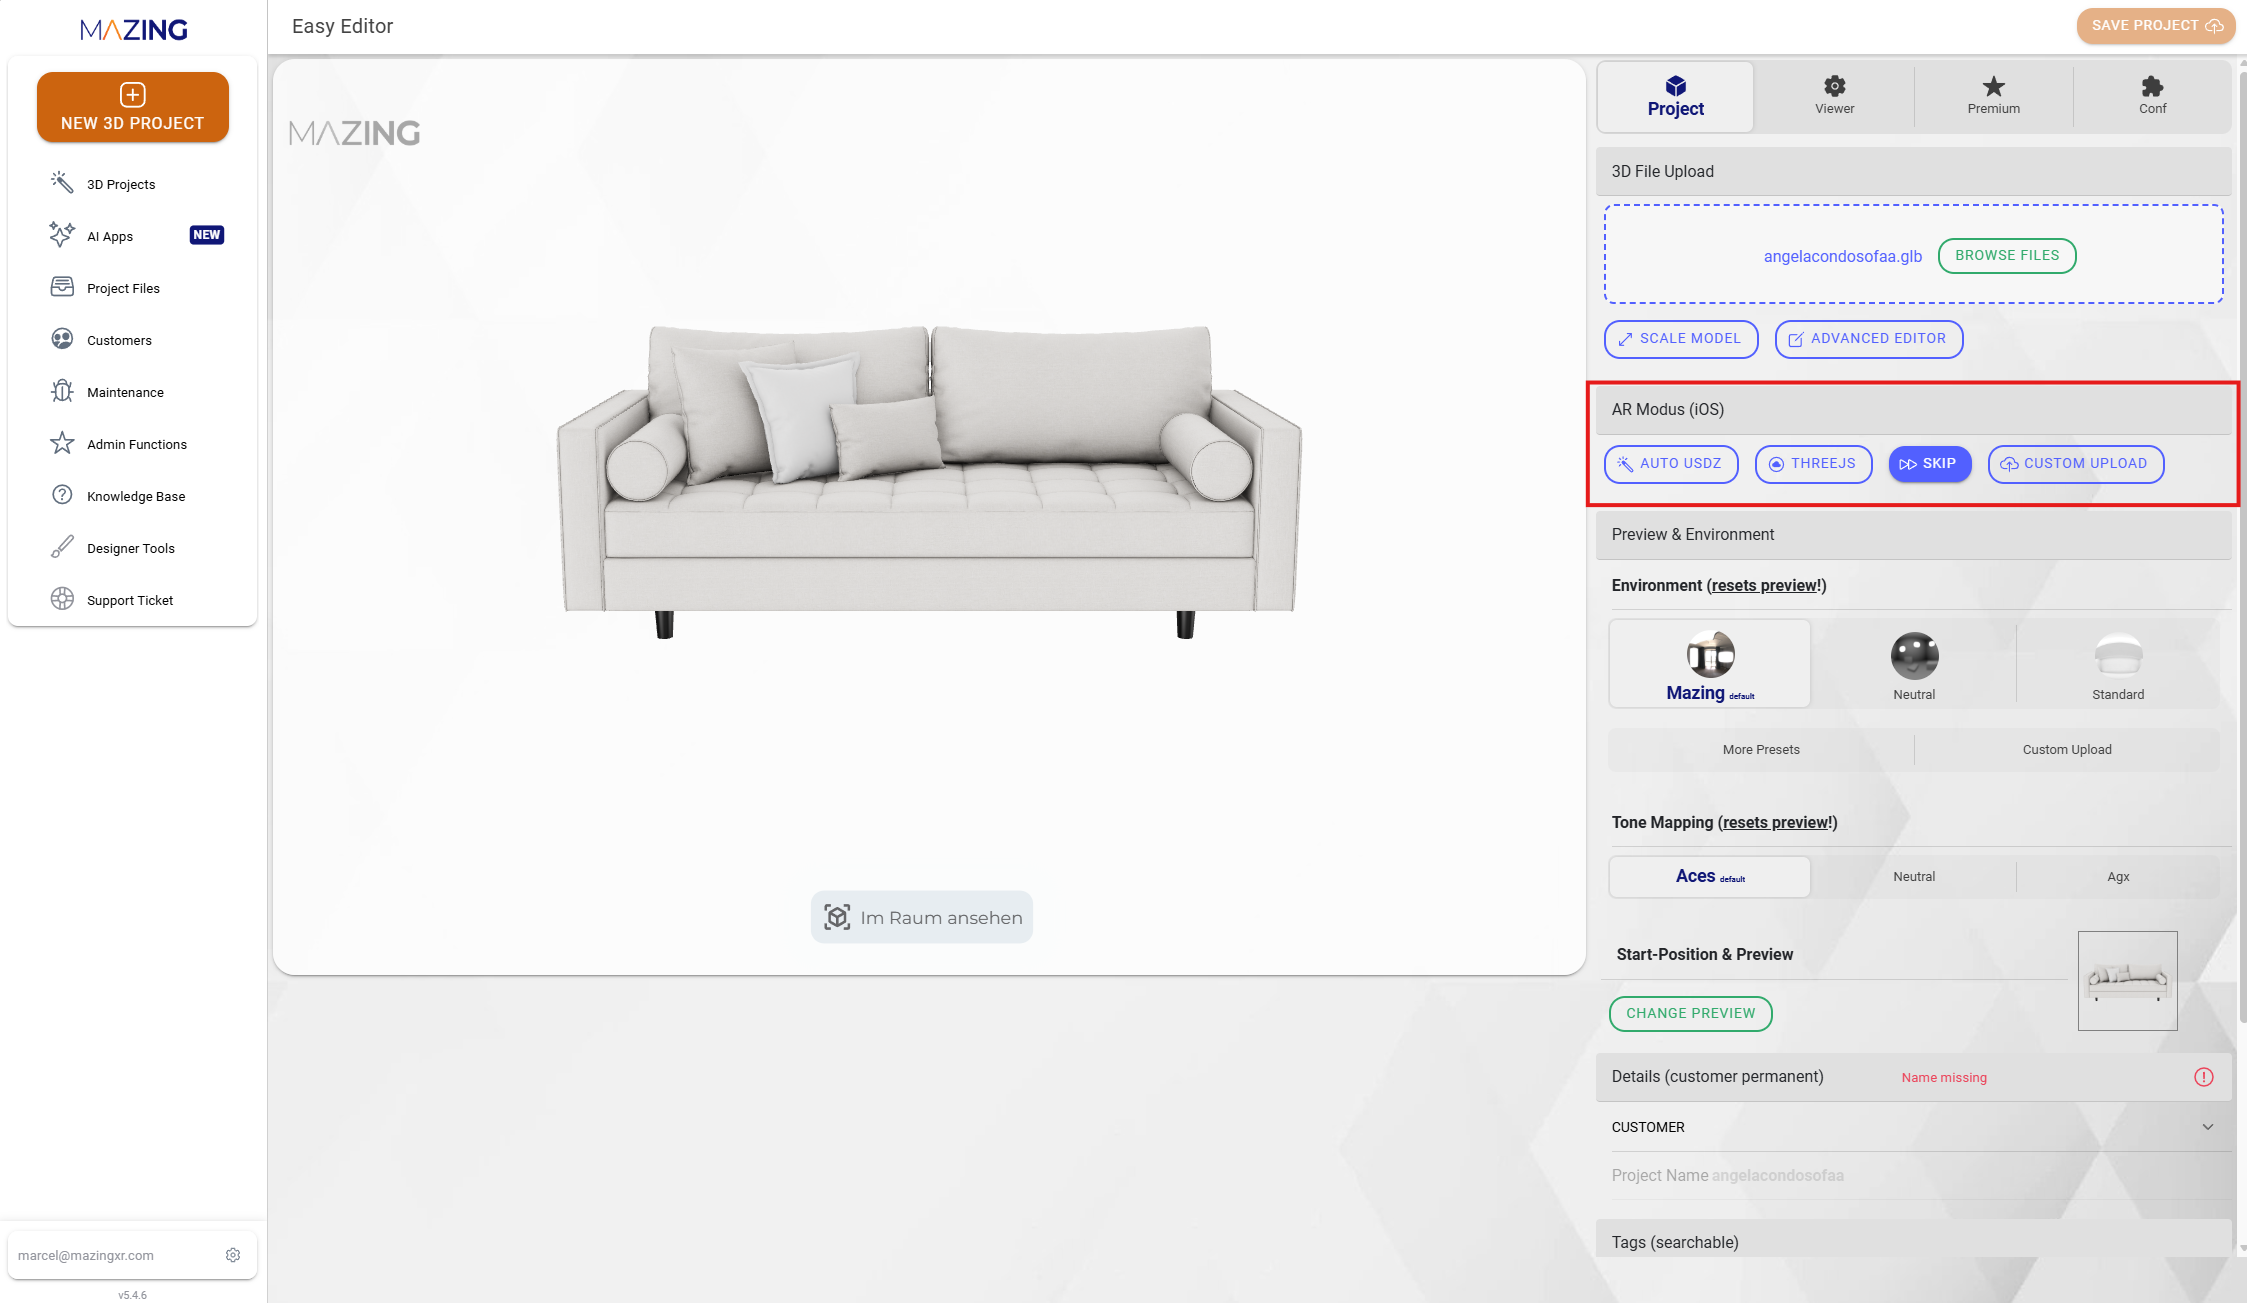
## **Schritt 3 – USDZ-Datei generieren**
*Für fortgeschrittene Nutzer, die eigene .usdz- oder .reality-Projekte erstellen (Apple-Nutzer)*
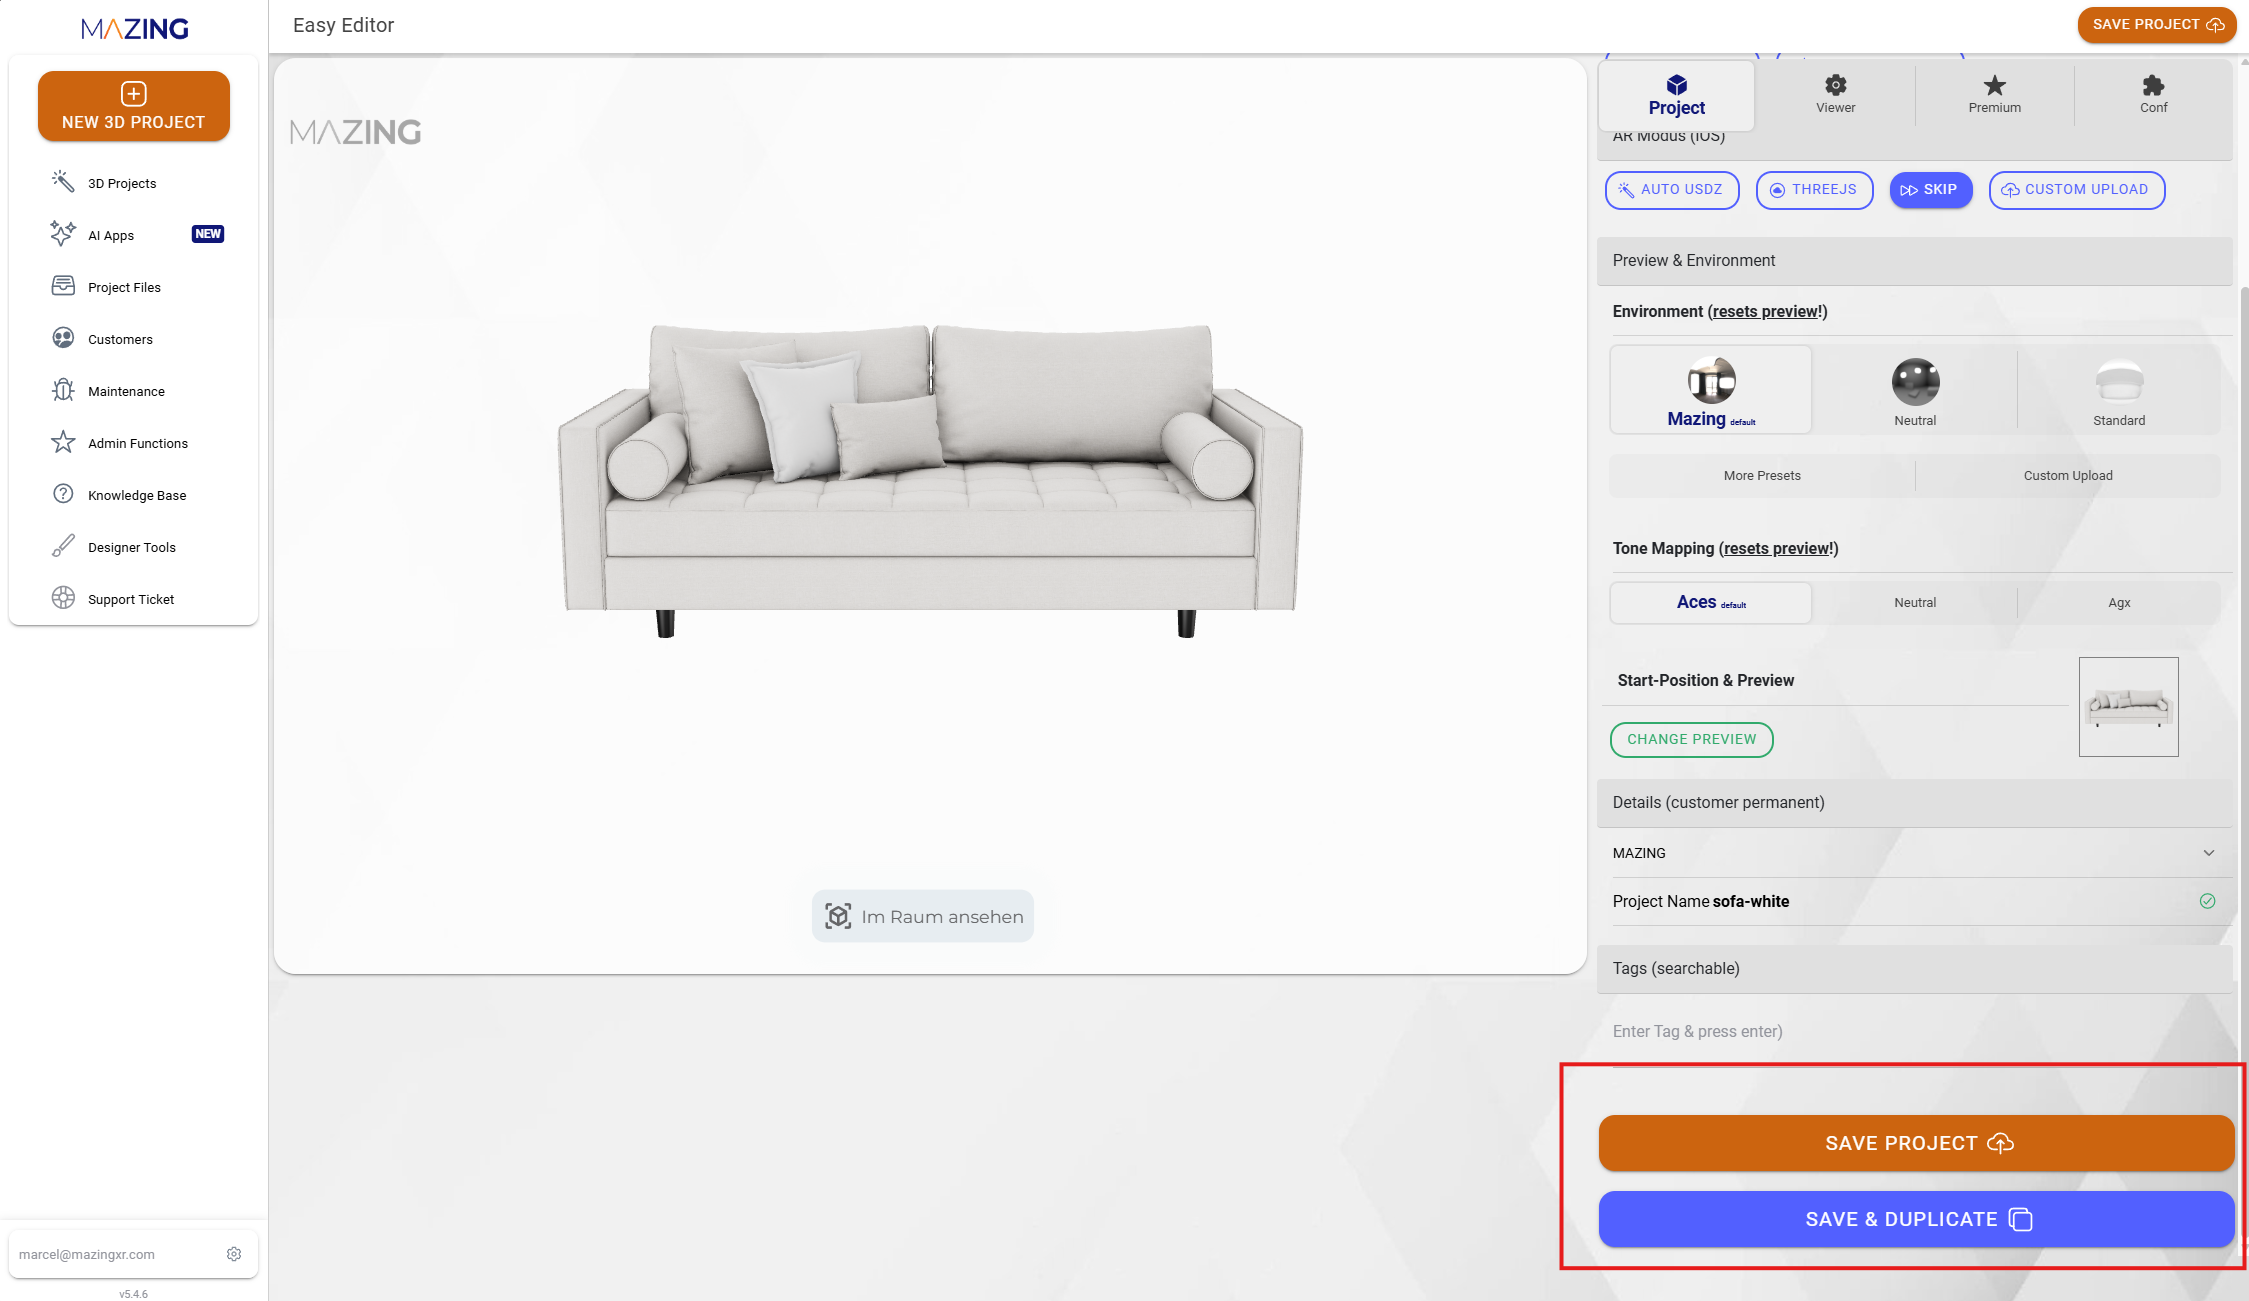
## **Schritt 5 – Namen vergeben & Projekt speichern**
*Ändere die Vorschau sowie den ersten Blickwinkel deines 3D-Modells*
###