> For the complete documentation index, see [llms.txt](https://mazingxr.gitbook.io/mazing-world/llms.txt). Markdown versions of documentation pages are available by appending `.md` to page URLs; this page is available as [Markdown](https://mazingxr.gitbook.io/mazing-world/ai-apps/ai-bulk-generation.md).
# AI Bulk Generation
The Bulk App allows you to process multiple images at once using a single prompt. Upload several images, apply the same prompt to all of them, and download the results together.
## Start a Bulk Session
### Upload Images
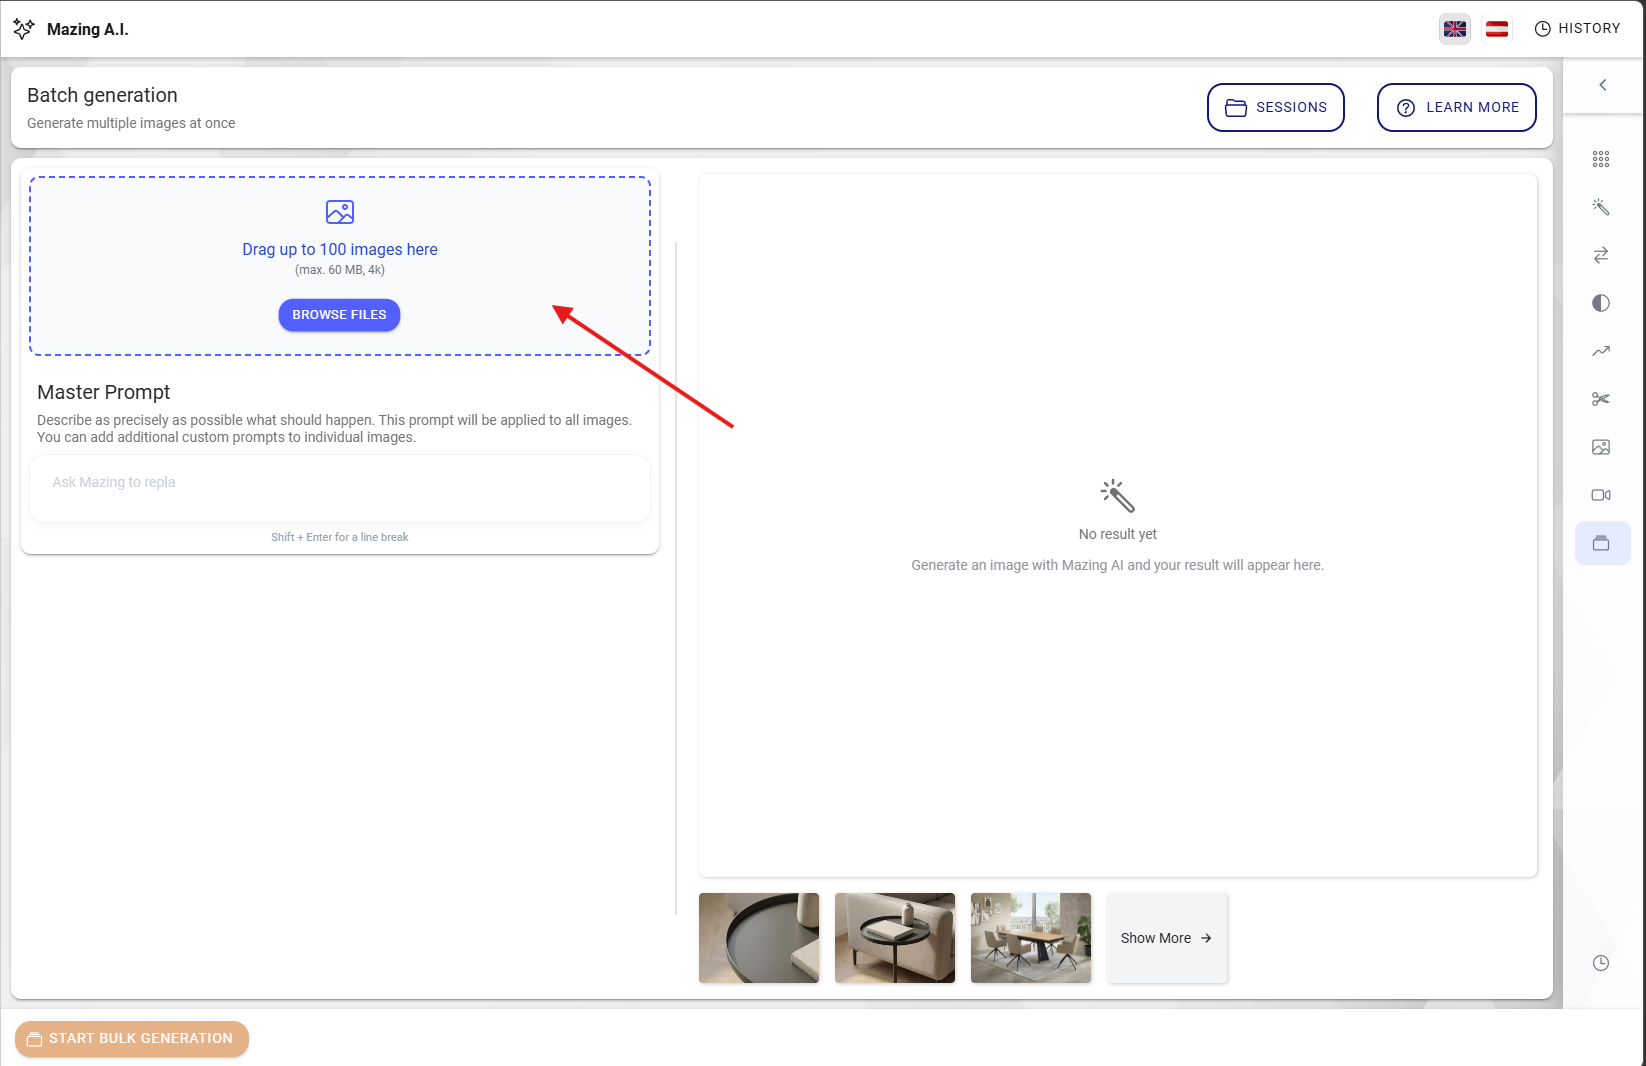
Drag and drop multiple images into the upload area or click to select files from your device.
Supported formats include:
* JPG / JPEG
* PNG
* WEBP
You can upload several images at once. Each image will appear in the **Bulk Input List**.
***
### Review Uploaded Images
After uploading, the images will appear in the Bulk Input List.
For each image you can:
* Preview the image
* Add a custom prompt for each image
* Remove it from the list before starting the generation
⚠️ Only valid images will remain in the list. Unsupported formats or invalid images will be rejected.
***
### Enter a Prompt
Type a prompt describing how the images should be processed.
The same prompt will be applied to **all uploaded images**.
Example prompts:
* "Change the background to a beach"
* "Convert the image into a watercolor painting"
* "Remove the background and place the object in a studio setting"
***
### Start the Bulk Generation
Click **Start** to process all uploaded images.
The Bulk App will generate results for each image individually while showing their progress in the results list.
Each image will display a status such as:
* in progress
* failed
* completed
***
## View Bulk Results
After processing begins, each image will appear in the **Bulk Results List**.
For each result you can:
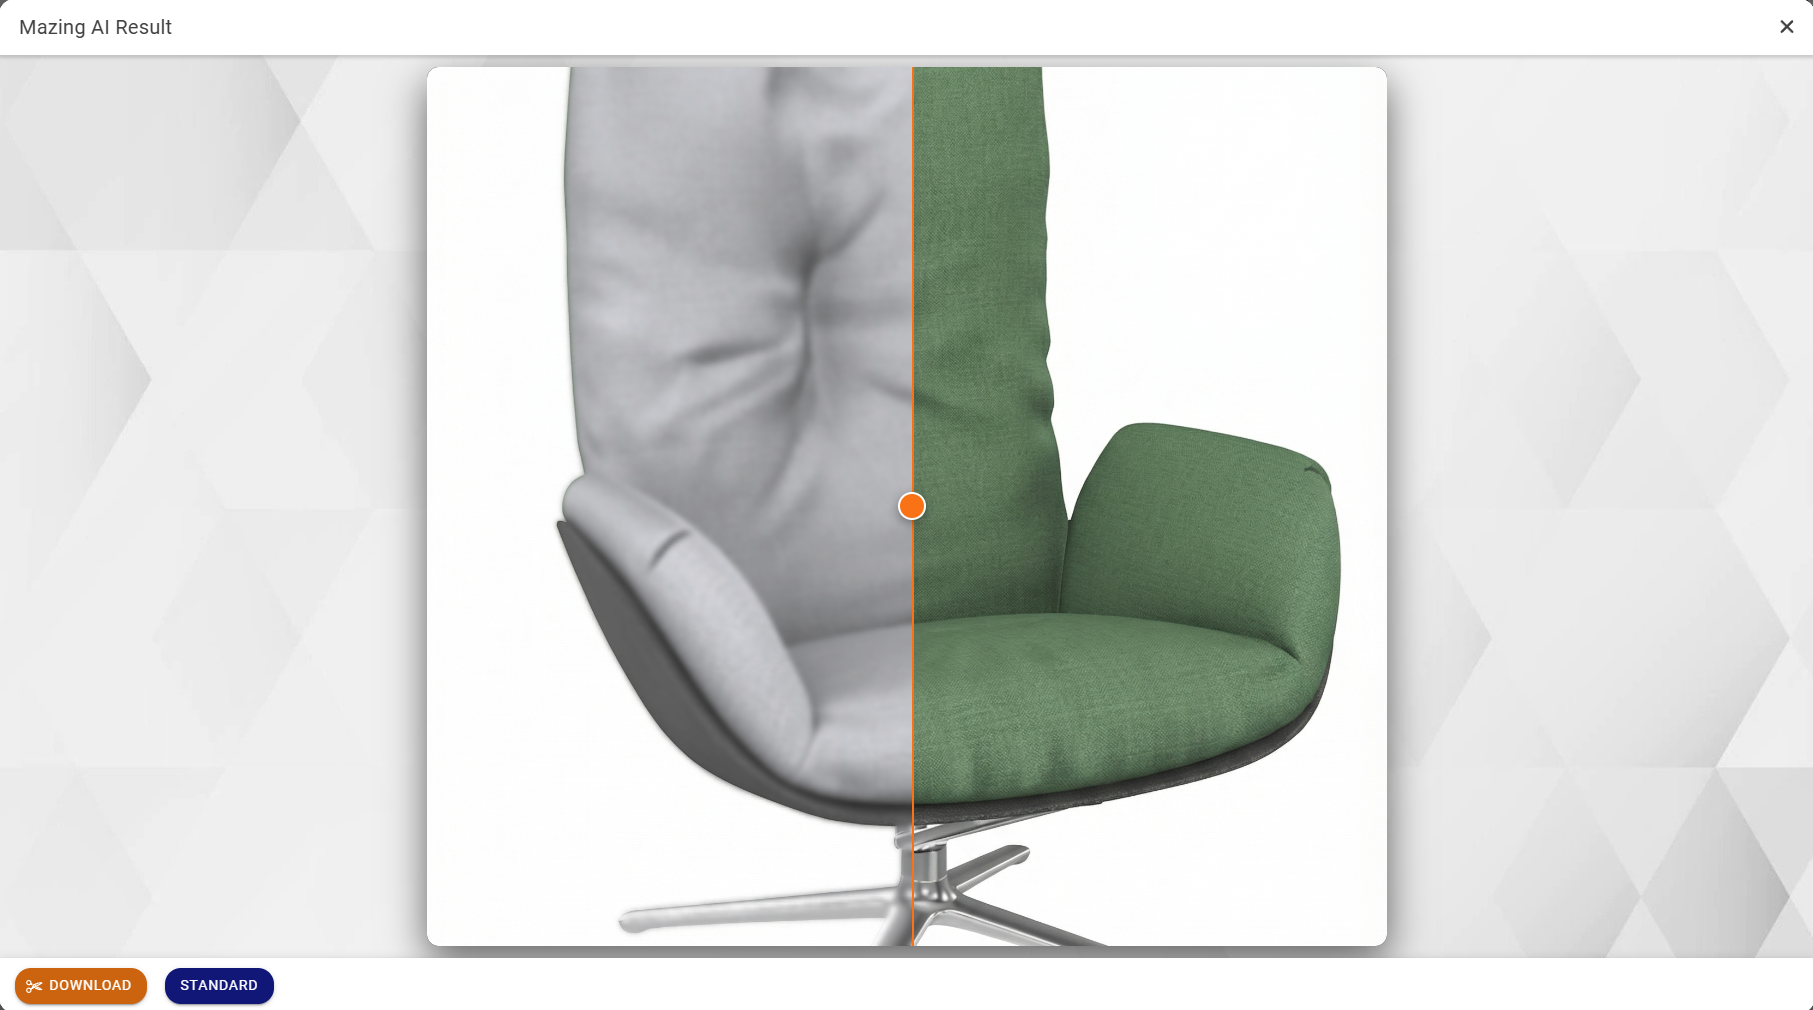
* View the generated image
* Expand the image preview
* Download the result individually
***
## Download All Results
Once the generation is complete, you can download all images at once.
Click **Download All** to receive a ZIP file containing all generated images.
The ZIP file includes:
* All processed result images
* Each file named according to its source image
***
## Restore Previous Bulk Sessions
You can reopen previous Bulk sessions.
### Open a Session
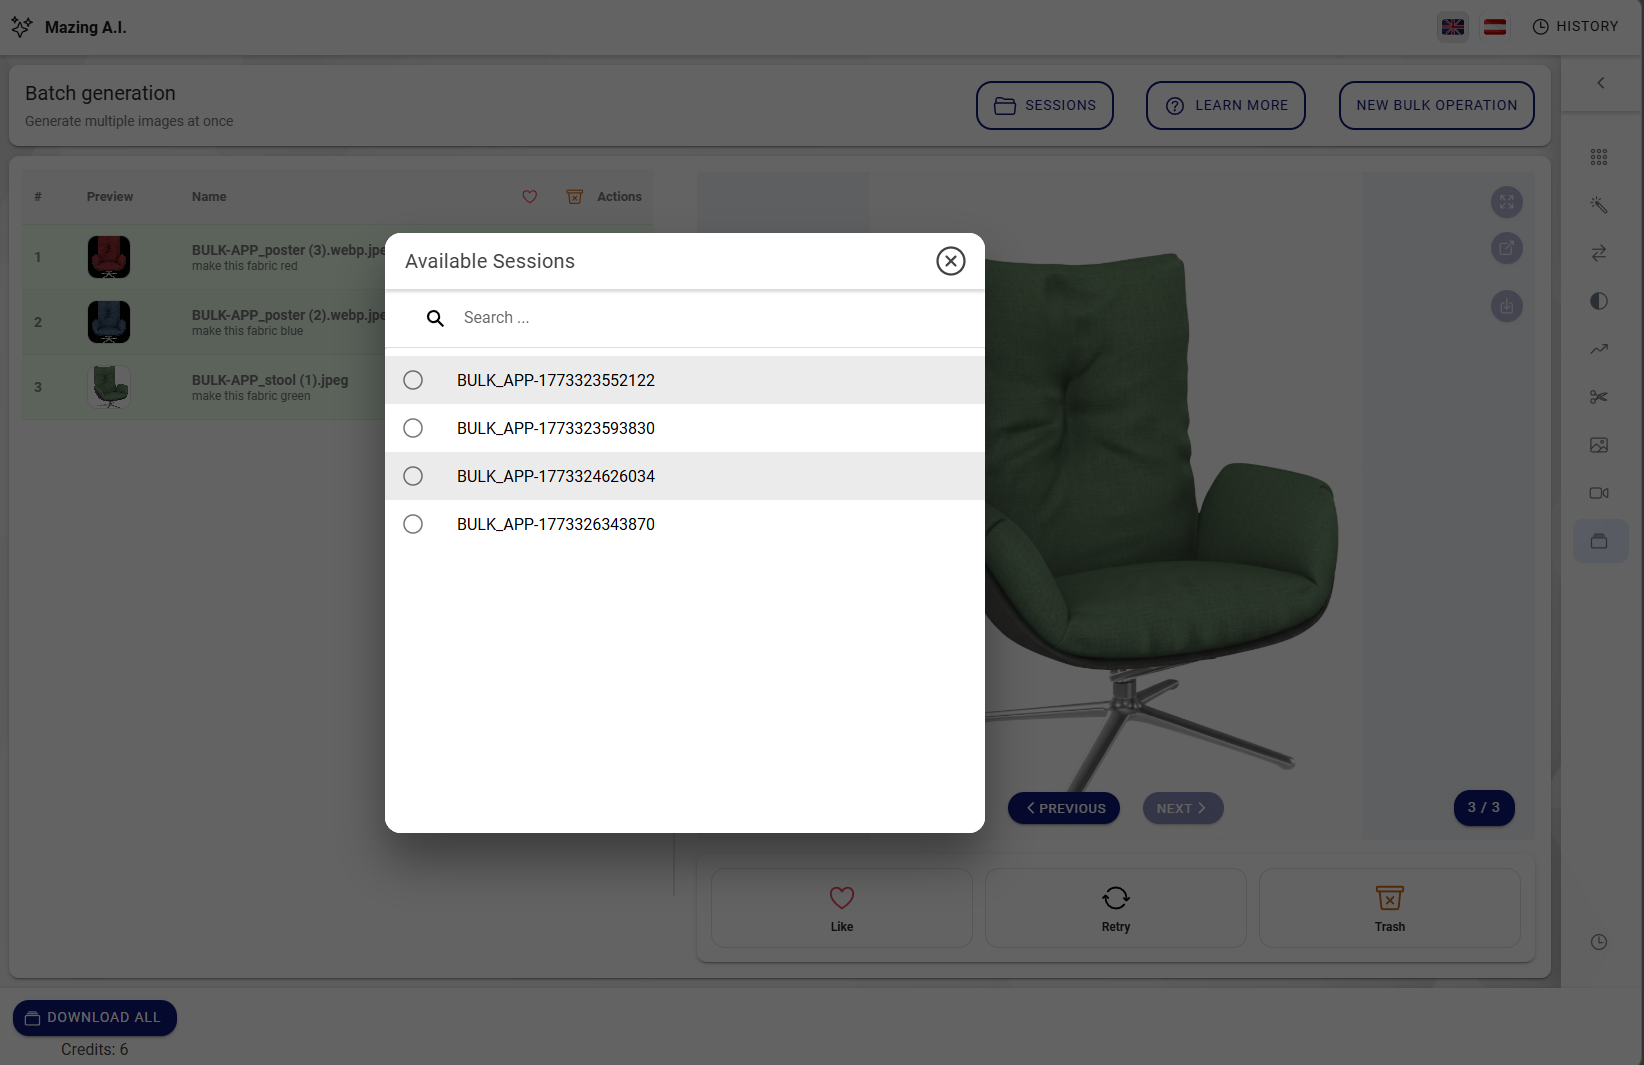
Click **Sessions** to view previously created sessions.
A list of past sessions will appear.\
Each session includes the images that were processed in that batch.
***
### Load a Previous Session
Select a session from the list.
The Bulk App will restore:
* The original input images
* The generated results
You can review the images or download them again.
***
## Bulk Notes
* Each Bulk session processes all images with the **same prompt and settings**.
* Large batches may take longer depending on the number of images.
* Sessions can be reopened later to access previously generated results.
## Start a Serial App Session
The **Serial App** allows you to process images step by step, where each step builds on the result of the previous one.
### Upload Image
Drag and drop one image into the upload area or click to select files from your device.
Supported formats include:
* JPG / JPEG
* PNG
* WEBP
### How to use the Serial App
1. **Switch to Serial App mode**\
Use the toggle at the top to switch from **Bulk App** to **Serial App**.
2. **Upload an image**\
Drag and drop an image into the upload area or click to select a file from your device.\
Supported formats: **JPG, JPEG, PNG, WEBP**
3. **Create your process steps**
* You can add up to **7 steps**
* Each step applies a transformation to the image
* The output of one step is automatically used as the input for the next
4. **Configure each step**\
When adding a step, you can:
* Choose which image to use (original or previous outputs)
* Define the prompt or transformation for that step
### Example workflow
1. **Step 1:** Change the product color (e.g., make the mattress red)
2. **Step 2:** Use the result from Step 1 to generate a close-up shot